The Hills & Valleys of Creating an iMovie Video
 |
| Getting the Kodak Flip Video ready to shoot |
In my previous post, I shared my initial experience with the iMovie Essential Training Video series on Lynda.com. My interest level was not peaked until I started watching Chapter 5 on editing. The still frame technique gave me an idea to create a short action video utilizing that technique. With my Kodak Flip Video camera in hand and my energy-ridden 9 year old at my disposal, I had the perfect opportunity to capture an action shot.
Putting it Together
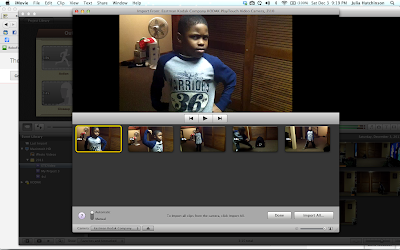 |
| Importing video from the Kodak is a breeze! |
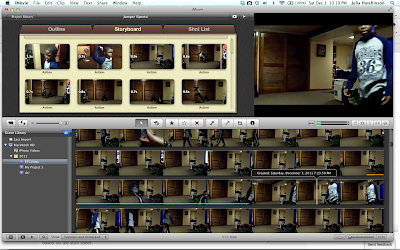 |
| Using the Trailer Video builder in iMovie |
Once I had video of my son, it was very easy for me to transfer the video from the Kodak Flip and into iMovie. (I do wish the 'drag and drop' feature could be used with video.) I also decided to experiment with the Movie Trailers option. This was another feature I had never used before. I liked the automation of the trailer-building process. All I had to do was modify the script and select clips based on the shot sheet. It's also nice to know that iMovie organizes your clips and project files. No need to worry about saving.
What I
didn't like is the lack of fined tuned controls. By using the Movie Trailer template, I was not able to edit the duration or orientation of my clips. I also could not extract a frame from the clips. It would be nice to have those controls with the Movie Trailer template for those who want more customization and fine tuning of the clips. Those features are only available in the regular template projects.
In my next blog post, I'll wrap up my review of my iMovie Essential Training experience and show you a sample movie.


0 comments:
Post a Comment